Easy Custom Frame Idea For Family Photos
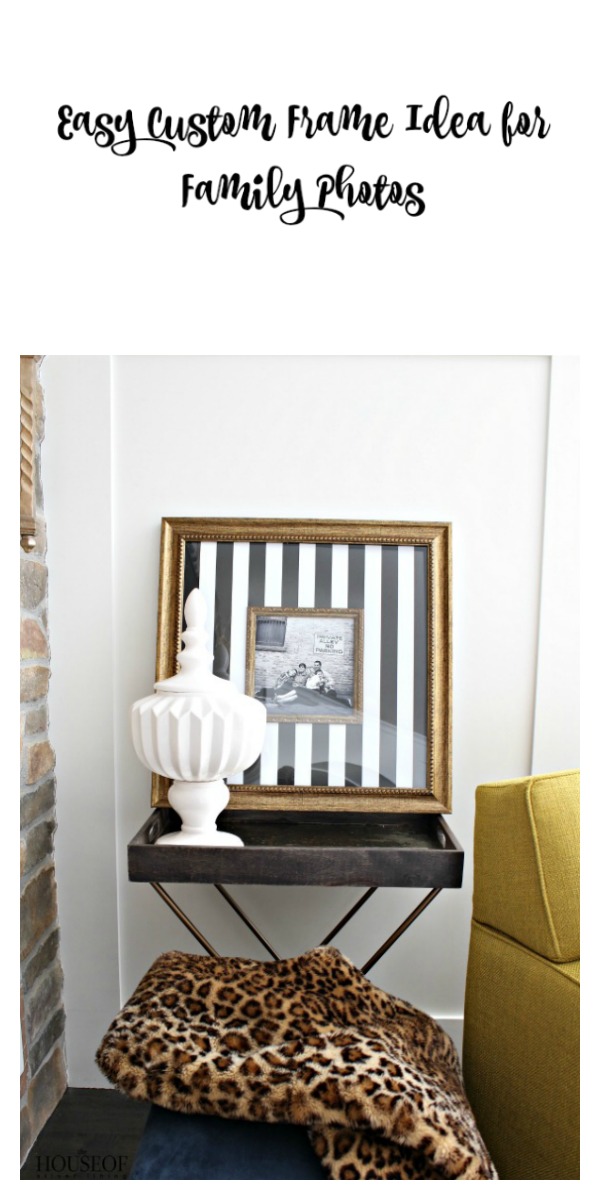
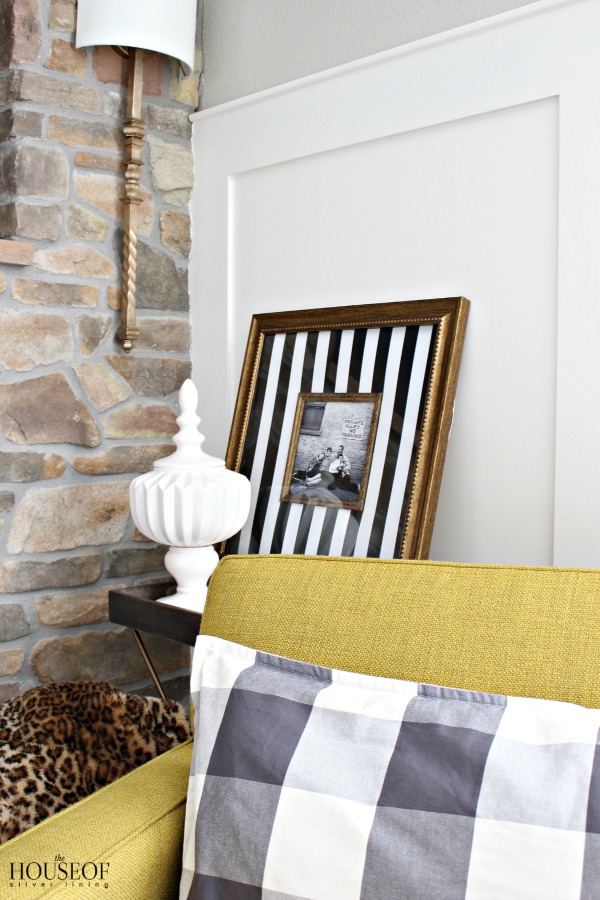
Custom frames can be expensive. Plain and simple. We pay enough just to have professional family photos done, but sometimes those photos never get framed. I’m kind of crushing on this easy custom frame idea I came up with for our family photos.
I used to have our photos blown up and framed in our home, but am now going back to smaller photos in larger frames. Every year, we get family photos done for those Christmas cards. You know, the obligatory beautiful photo card that EVERYONE sends. For the record, I keep every single one of those that we get from friends and family! Call me a Christmas card photo hoarder, but I’m a bit sentimental that way and just love pulling out those photos every year and seeing all of our friends and family. Remember our photo shoot I shared back in December HERE? I loved how they turned out and have been itchin to get some hung on my walls. Just one of those projects that keeps getting put to the bottom of the list.
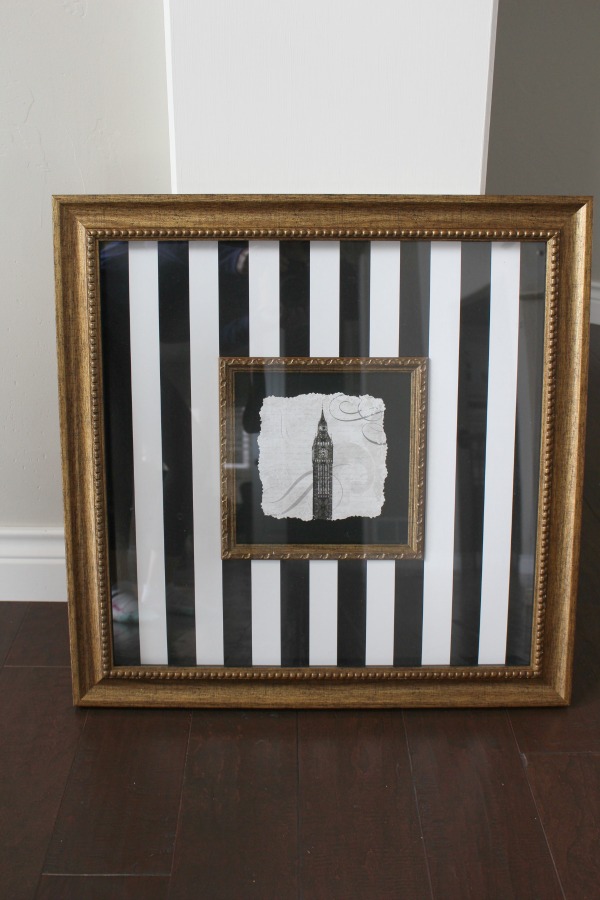
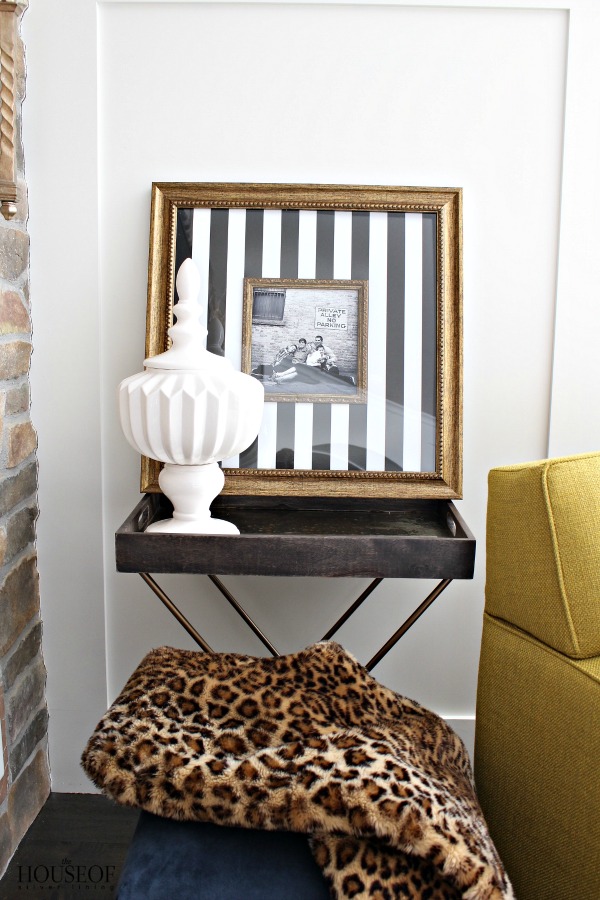
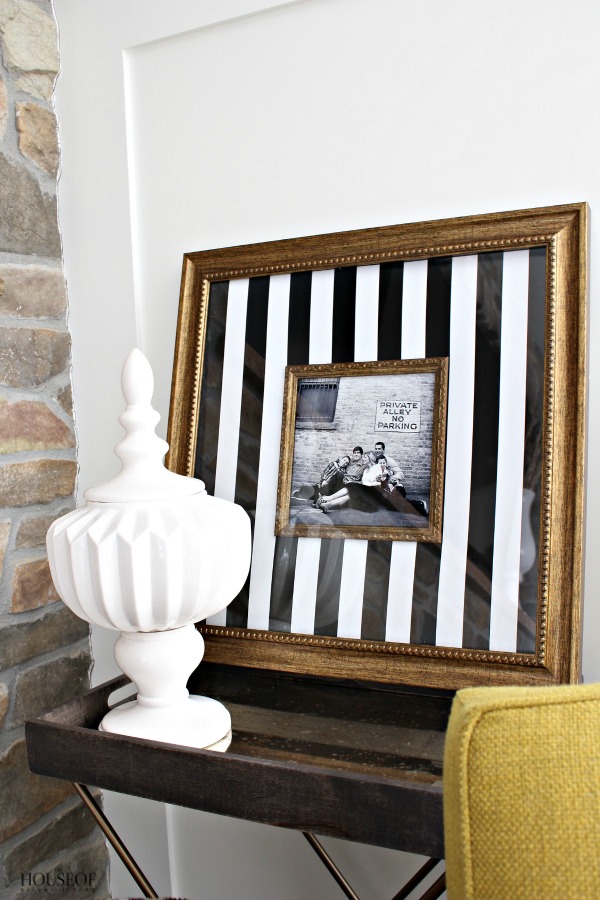
Last week when I was shopping for some new dining table chairs, I came across this framed piece of art from At Home Store. I love the antique gold frame and those stripes! You know how I love black and white stripes!
The artwork in the center is not my style but I thought a family photo would be fun to put in. The frame is 24″ x 24″ with an 8″ x 8″ inner frame. Since I wasn’t sure if I could take this piece apart and insert a family photo, I decided to only buy one frame. It was only $29.99 so if it was a DIY fail, I could handle that.
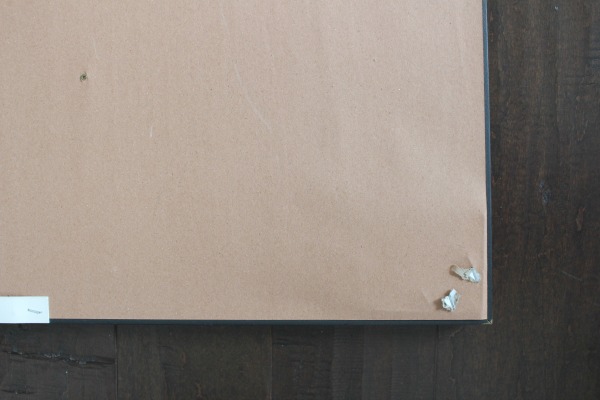
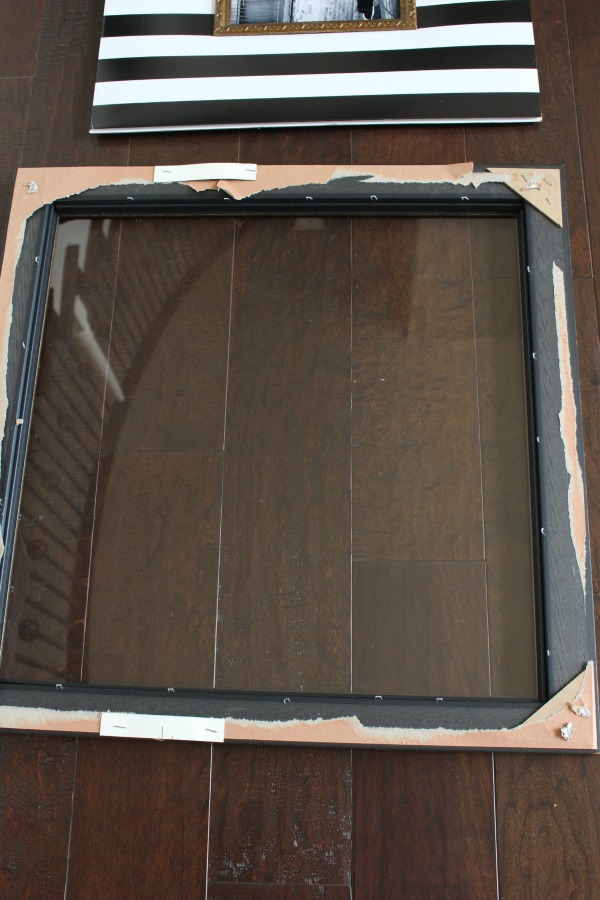
The first step was taking the back of the frame apart:
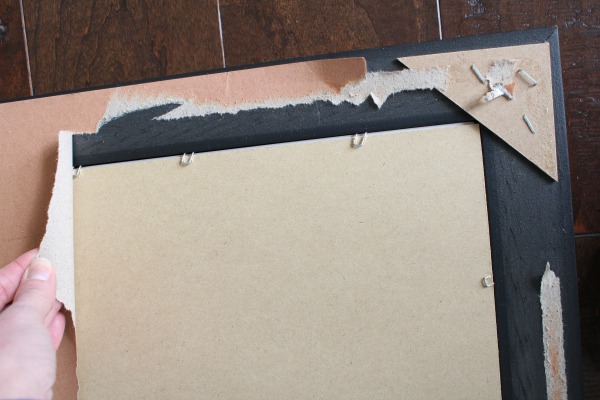
I tore the paper backing off to reveal the staples in cardboard frame.
Not too pretty, but no one will ever see the backside once it’s hung.
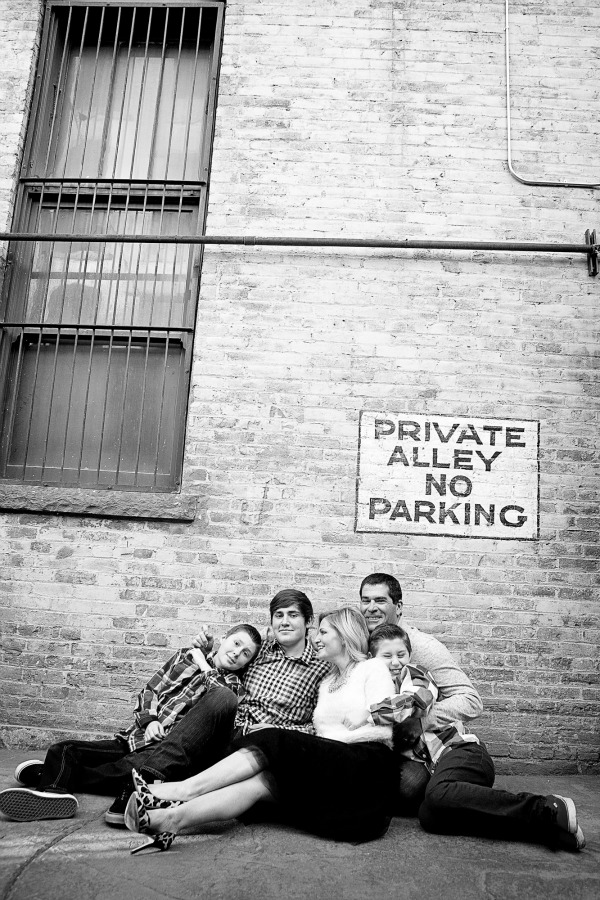
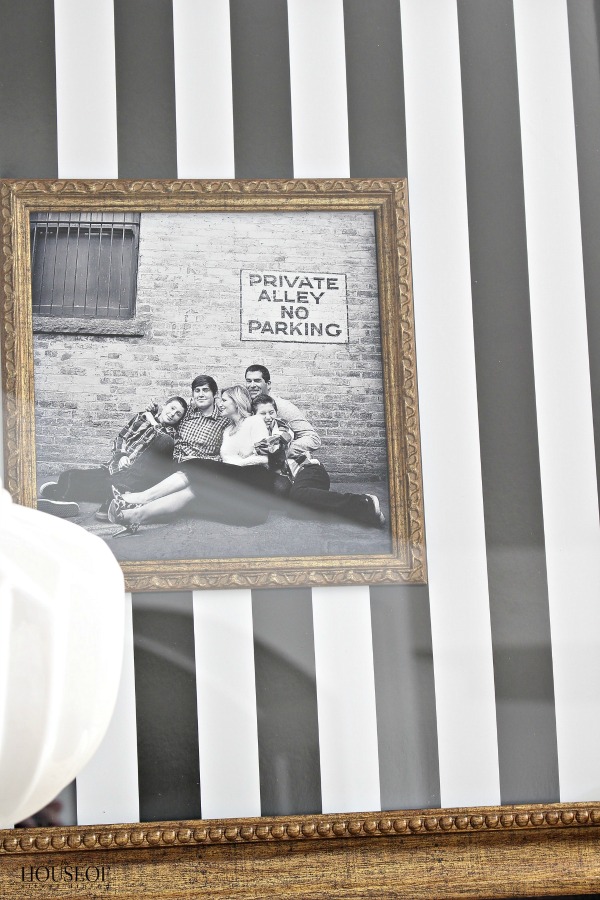
I had this photo printed at Walgreens in an 8″ x 10″ print. Talk about convenience, the print was ready in less than one hour and is right down the road from me. I cut it down to an 8″ x 8″ size to fit within the inner frame opening.
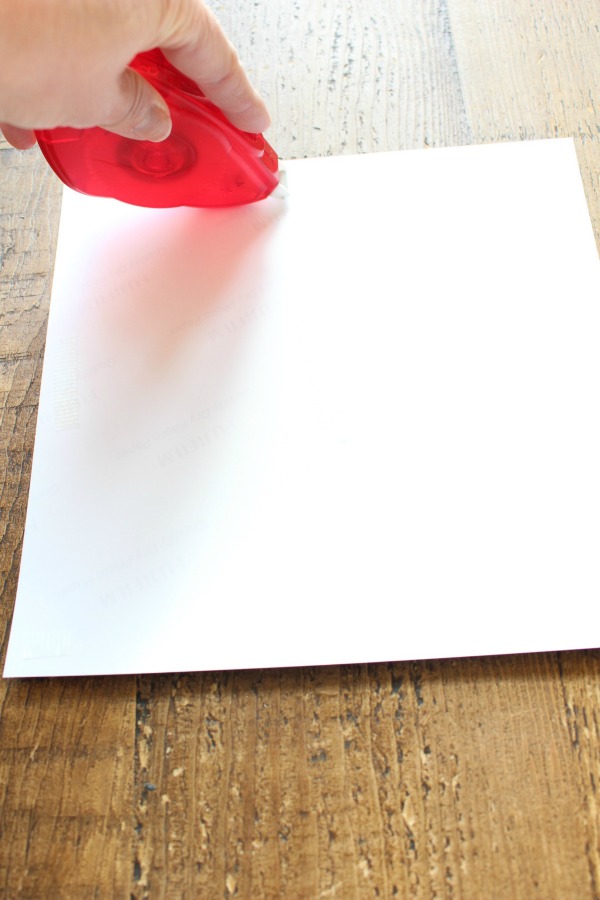
I used scrapbook tape along the edges to make sure the photo stayed in place.
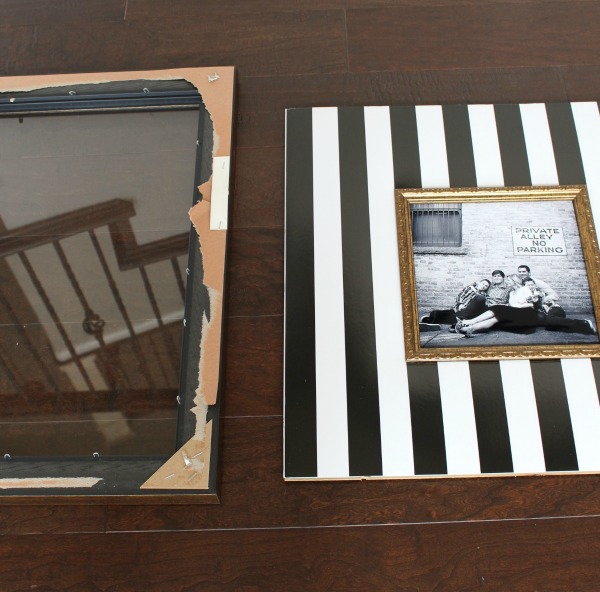
Ready to put back in place behind the glass! Those staple brackets (probably not the proper term) can be bent up and down to allow the cardboard mat to be taken in and out of the frame.
I LOVE how it turned out!
Just a little design tip to help you think outside the box when looking for matted frames. I plan to go back and buy more of these for a gallery wall I’m working on. I’ll be sharing that project as soon as it’s done!



Love this Shauna!!! I saw those frames there and was dying over how cute they were! What a brilliant idea! Your family is darling!
Randi – where is your Avatar girlfriend?! It will only take you 10 minutes: http://yourmarketingbff.com/2015/09/10-minute-marketing-creating-a-gravatar/ xoxo
Fabulous idea Shauna! And I’ll be stealing if for sure. thx
Side note: I’m totally a Christmas card picture hoarder too!!! Each year I look back and see how much everyone has changed.
I like the idea of adding an overlay to cover the rest of the area that the picture itself doesn’t reach. I think this could be a great way of customizing the picture even more. I’ll have to keep this in mind when I manage to get a hold of some frames for a few pictures I want printed. Thanks for the post!
Thank you for your comment and for stopping by the blog 🙂
Thanks Shauna!
Great idea Shauna!! Love the black white and gold and of course your adorable family photo is the icing on the cake:))
Thanks Bree! One of the easiest projects ever!
xo
Love this!! I have done something similar using scrapbook paper but my result was so much more… “basic” and “plain Jane” looking haha! This frame, mat, and special photo make this one killer art piece; I am totally going to go bolder next time!
Thanks Kelley! Believe me, I’ve gone the scrapbook paper route too!;)