
Leopard Ottoman DIY
I’ve mentioned a time or two this past year that I have been purging my home monthly (if not more) of items that I don’t use, don’t care for anymore, or have no use of. It’s been such a freeing feeling to let go of the clutter that can control one’s life. What this process has taught me though is to think long and hard before I purchase anything new for our home. I no longer walk into Homegoods, Target or Hobby Lobby for one item and come out with ten. Can anyone relate here?? Honestly, life has become too busy to frivolously shop. That’s a good thing though…keeps me out of spending trouble. I’ve become more resourceful and have found myself going back to my roots of repurposing what I already have. In comes my little DIY leopard ottoman…
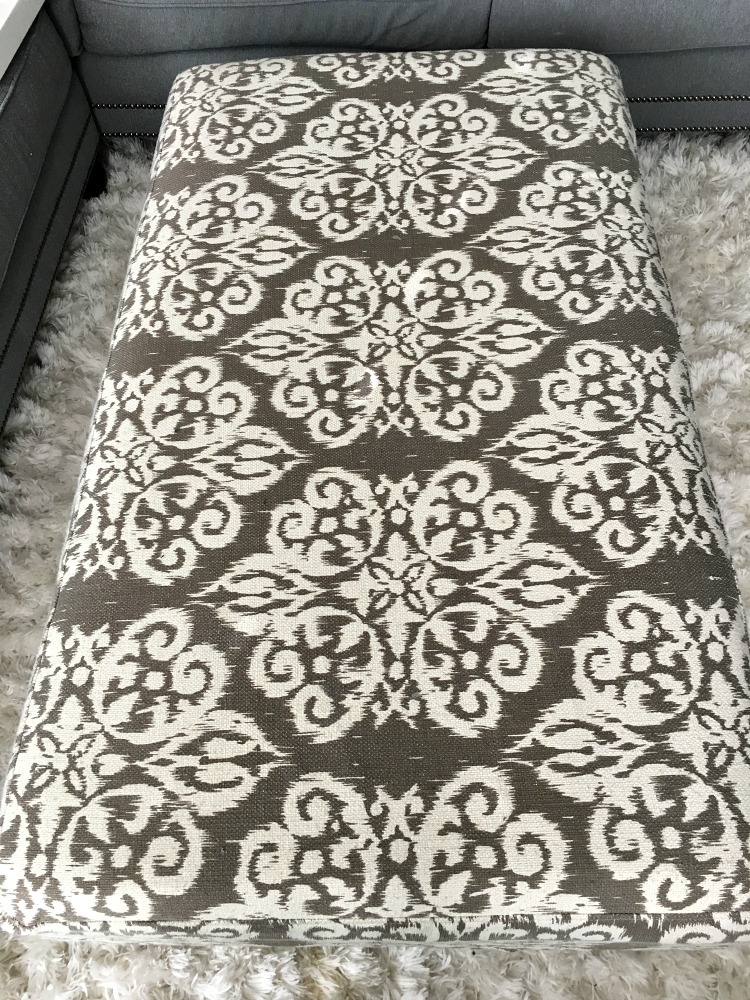
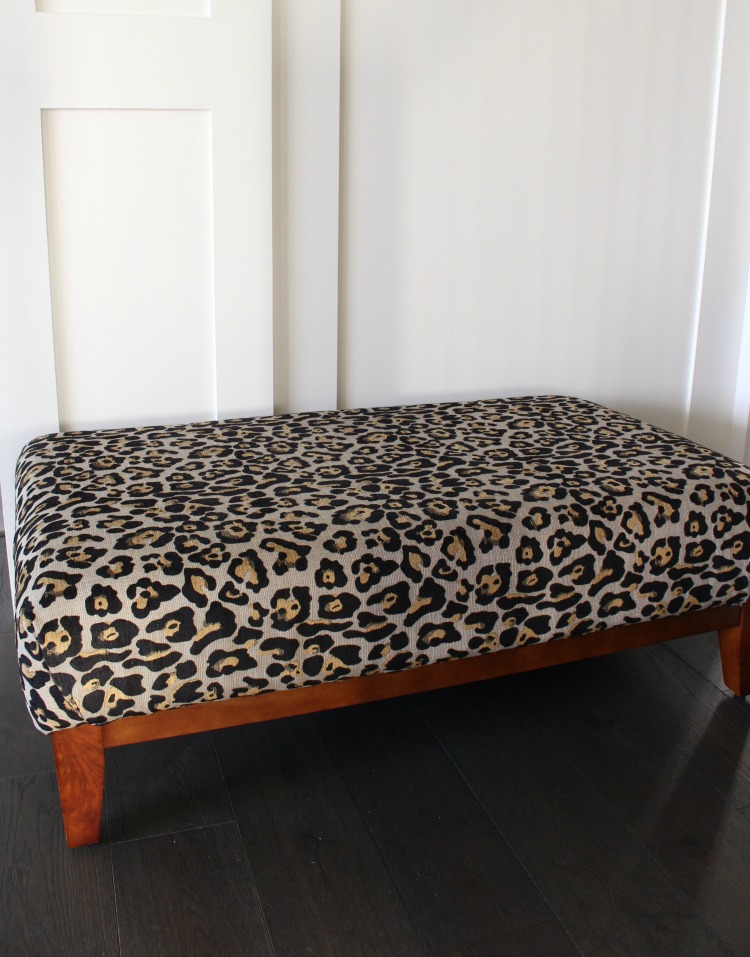
You see I have this ottoman that is super comfy to rest the tired feet on while lounging in front of the TV in our family room, but the fabric was just not really me anymore.
I have had “reupholstering the ottoman” as item 298 of my 1, 496 projects to do for 2016. So far, I think I’m on project #3…lol! I have high hopes for 2017…
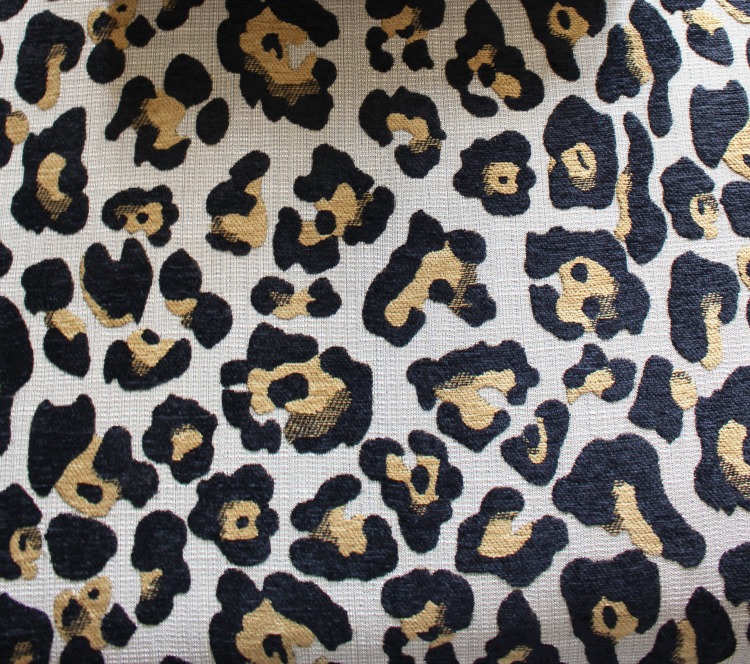
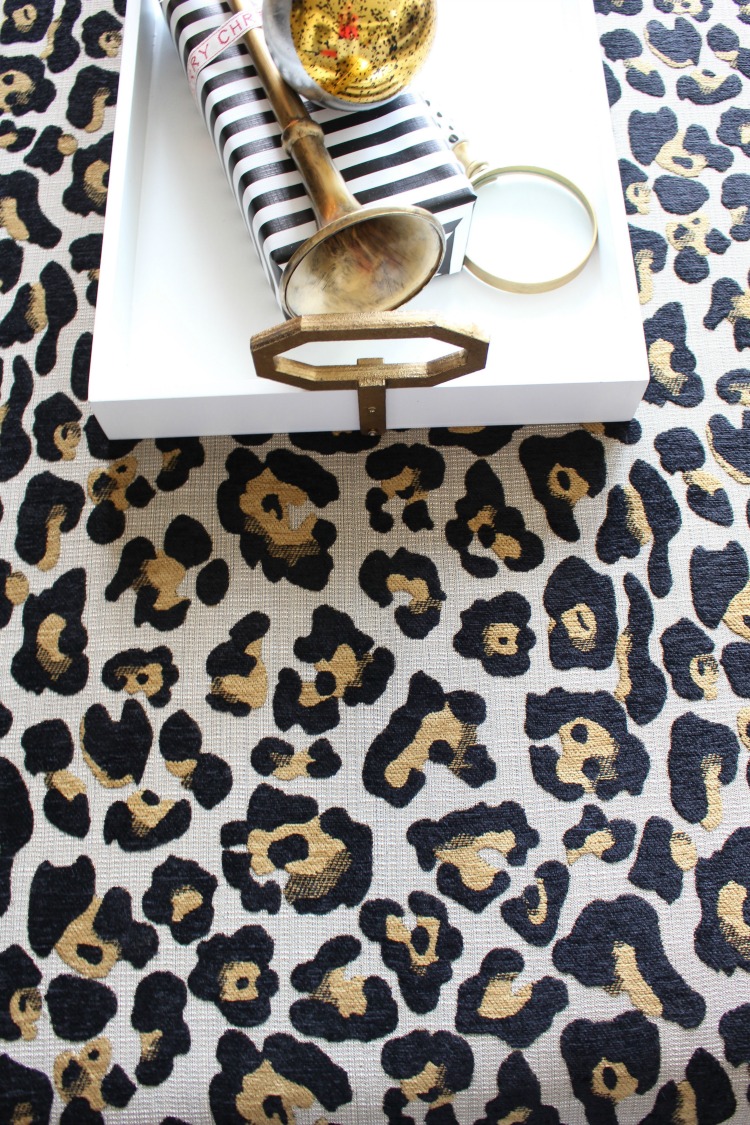
With Christmas decor already happening around here, I figure why not reupholster the ottoman along with decorating those 5 Christmas trees. Really, friends, I don’t plan these things. I went into Hobby Lobby looking for buffalo check fabric for a different project (no luck) and ended up leaving with this super fabulous leopard print.
I don’t necessarily have a good DIY tutorial on how to perfectly recover an ottoman. It really depends on the base of the ottoman. Here is my super simple, no fuss approach.
Step One
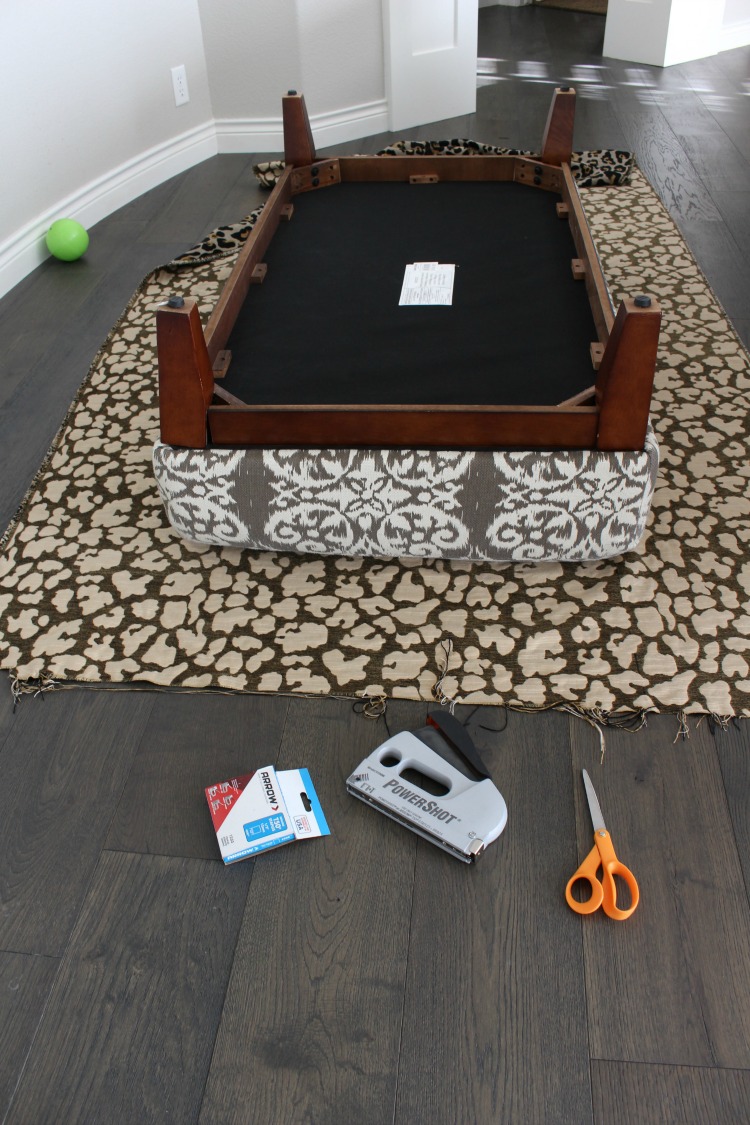
Lay the fabric right side down on the floor and lay the ottoman upside down on top of the fabric. I don’t recommend my measurement, or lack of measurement skills I should say. I guessed on the yardage of fabric I needed at Hobby Lobby and crossed my fingers it would be enough for my project. My advice to you though is don’t do what I did, and be sure to measure the ottoman before buying fabric. Thank goodness I got lucky and had enough fabric for the ottoman and a pillow!
Step Two
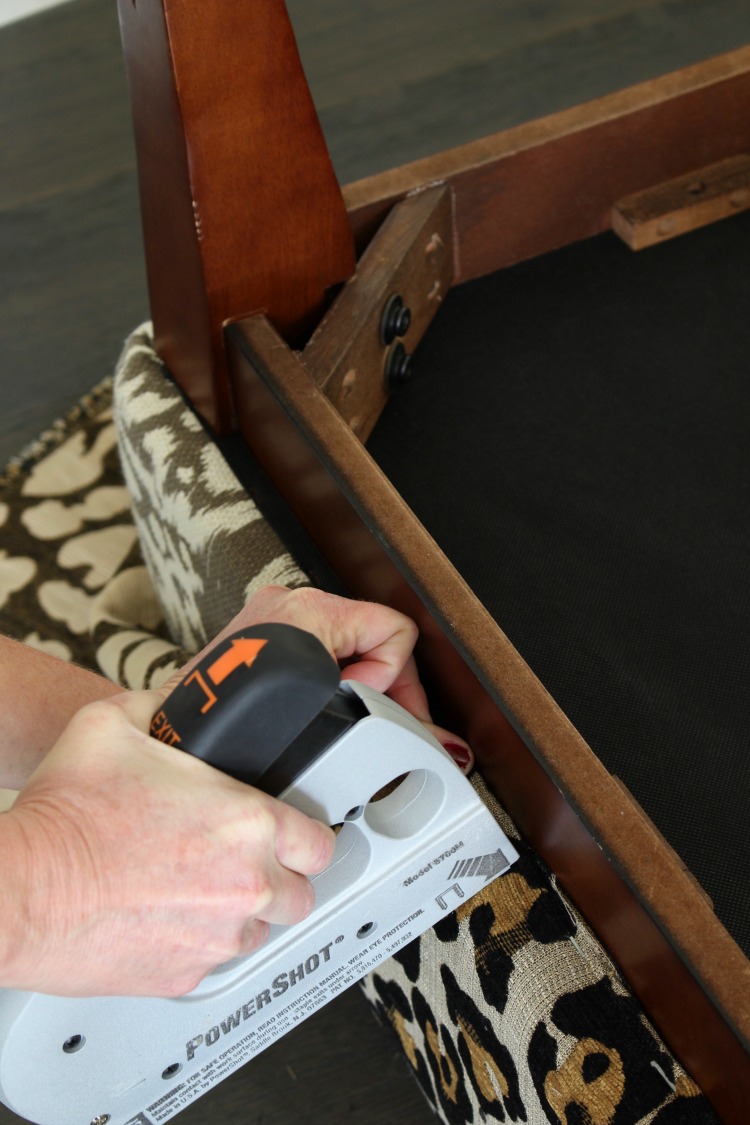
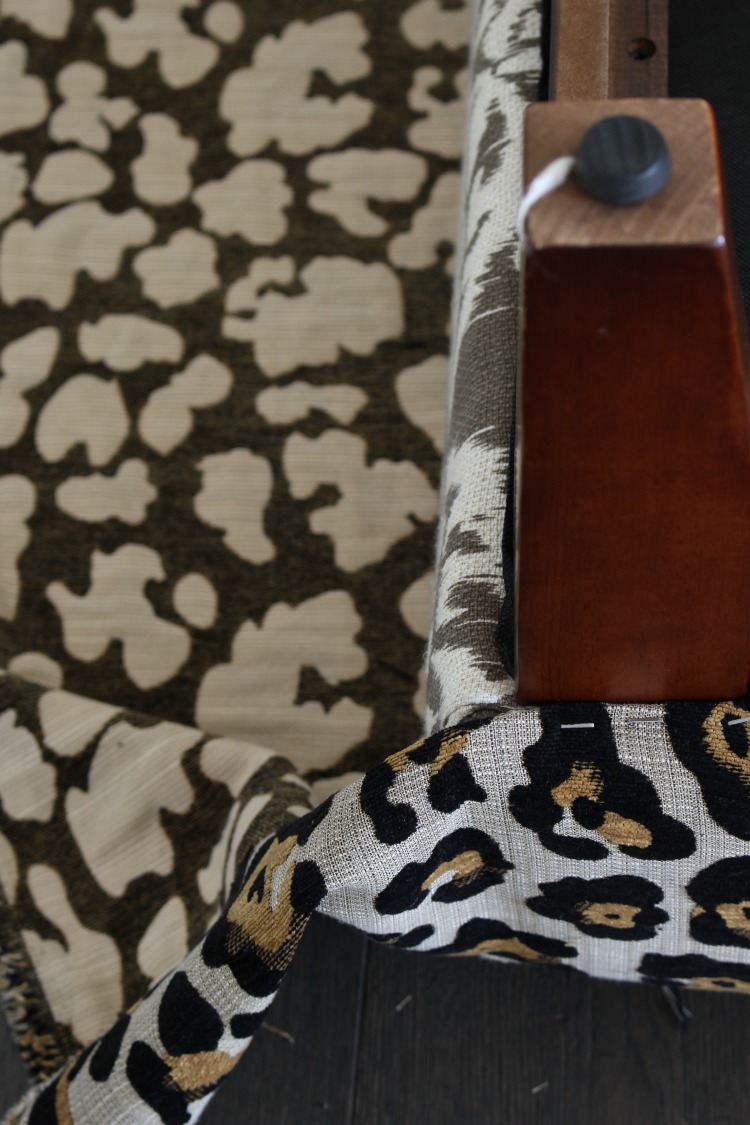
Fold over the rough edge of fabric (my OCD kicked in with the folded over edge look…who looks under the ottoman??) and staple to base of ottoman frame. Be sure to use a heavy duty staple gun. Fortunately, my ottoman has a wood base to staple to. Place staples about two inches apart to make sure the fabric is going to stay in place. Once I finished one side I then moved over to the opposite side of the ottoman, pulled the fabric tight and stapled again.
Next, move on to the remaining two sides, making sure the fabric is pulled snug and no wrinkles.
Step Three
In comes the tricky part. Those darn corners. I think I did all four corners differently. After experimenting with each corner, the best way to achieve a clean look is to fold the edge like you would wrap a gift. I tucked in the extra fabric and stapled the fabric in place at the wood frame. I know…that really makes NO SENSE!
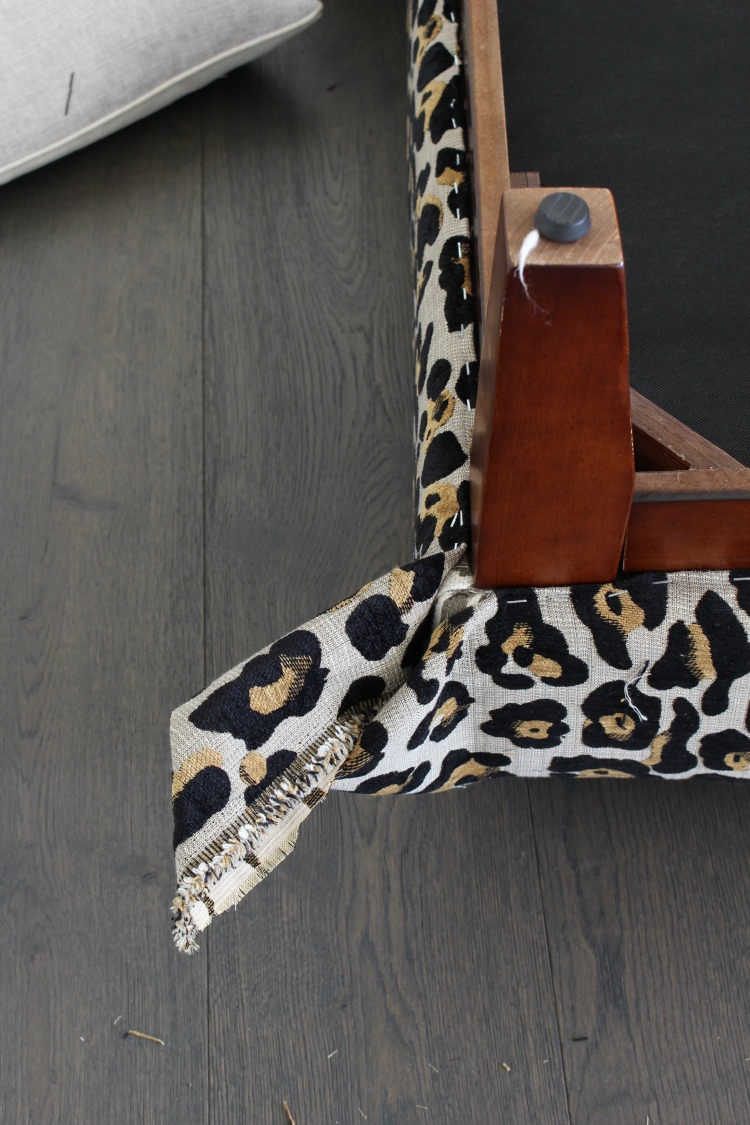
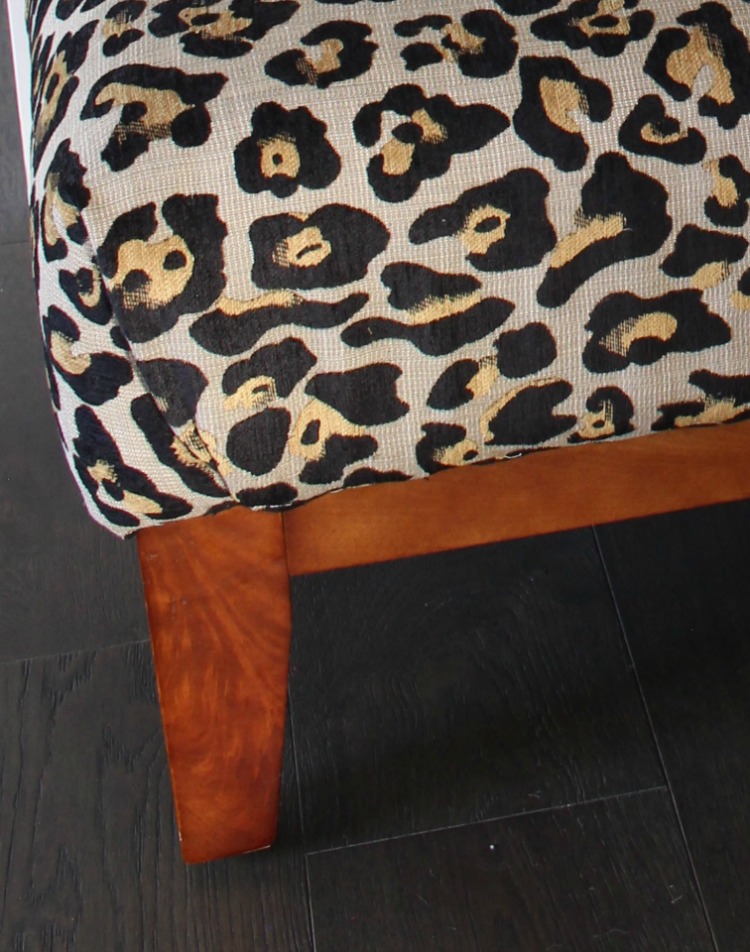
As you can see the above photo shows a diagonal edge finish and the photo below shows a straight edge. Once again, no rhyme or reason to my method of DIY upholster hack, but I like the bottom one more.
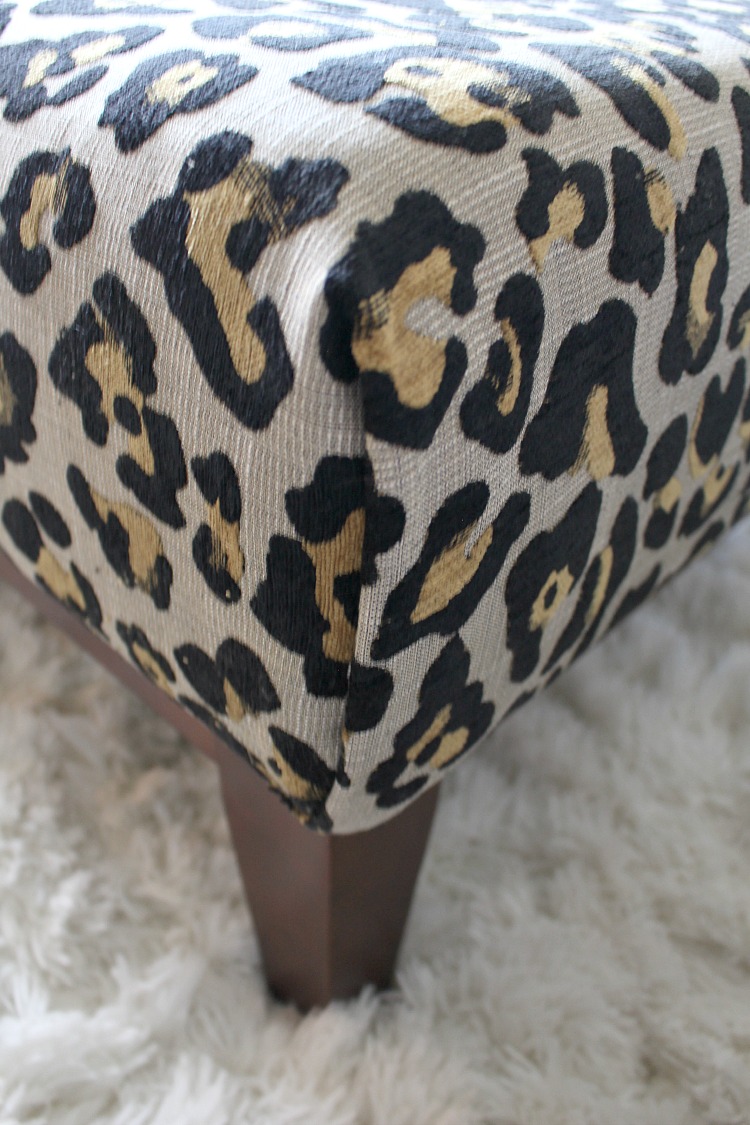
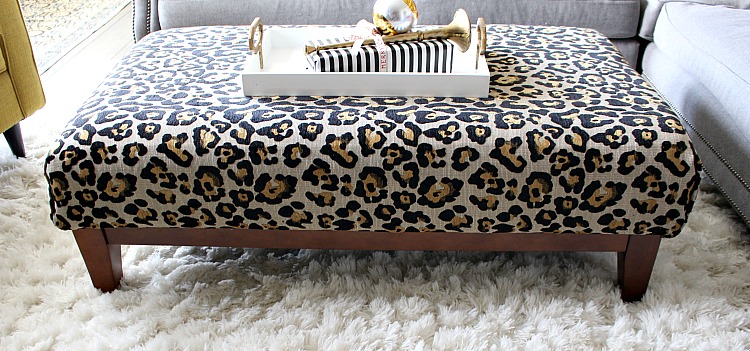
Overall, I’m thrilled with the outcome! For only $40 in fabric and one hour to complete I feel like I have a new piece of furniture! Have you noticed the theme of leopard print in my home?? No? Our living room and bar are also debuting my favorite leopard pillows. Leopard is a neutral and goes with any color, it’s the attitude of my rooms.
My “new” ottoman will be so fun to decorate this holiday season! In one of my recent fall home tours HERE, I draped a blanket over it’s former style because I was just not liking the fabric anymore in my home. Here’s a sneak peek of it styled for Christmas now!
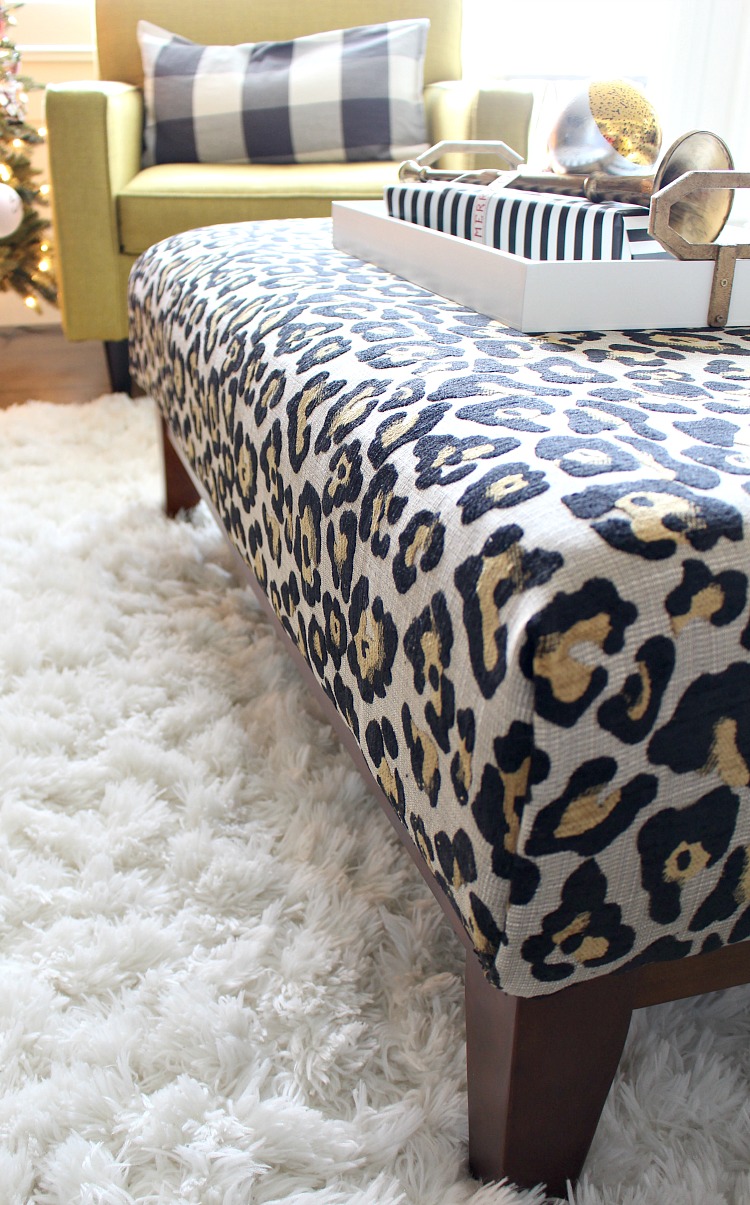
I always say, if there’s a will, there is a way! Even to DIY! Next time you think you need a new “thing” for your home, evaluate what you already have and be creative. The outcome just may surprise you!


Shauna this is FABULOUS! I love the leopard so much! I’ve even thought of doing a blue leopard next time I redo my ottoman! I’m all for the recovering these pieces – it’s such a quick and inexpensive update and it completely transforms the space. Fabulous job my friend! I love it!!
Thanks so much Tam! Easiest little makeover! Blue leopard would be GORGEOUS in your home!
Xo
Shauna, I love this! I need to get a little more brave and use it in my home decor instead of just on my favorite pair of flats. 🙂
Absolutely Jen! It’s so fun to have a little leopard in the home. It is the hottest neutral! ????
Beautiful and you made it look so easy!!
Thank you Rhonda! It was super easy!
What a fabulous project Shauna! It turned out so well! You know I love anything leopard! xo
Thank you Randi! It was so easy, I don’t know why I put it off for so long!
Love the ottoman change and your reupholstering tricks/hack, Shauna!! Great job and I knew you it’s going to look fabulous in your Christmas tour????????
Thanks Bree!! I’m kind of crushing on it!????
Well done! It’s just so you!!! Love it…
Thanks Tana!! It was good “stress relief” ????