Bar Remodel: Before and After
I should title this “building a bar” instead of bar remodel. As I’ve taken off in this blogging thing I’m realizing more and more that I love to share all the renovations that the hubs and I tackle. In our twenty years together we have built three homes and recently did the whole house renovation at the beach cottage HERE. We are hands on as much as possible in the whole demo to build phase. Tim (the hubs. let’s just clarify that now) doesn’t like to hire much of anything out. He is definitely a jack of all trades and can pretty much plumb, wire or build anything. So if time allows, he’s always the first to sign up for my new projects to tackle himself.
When we built our current Colorado home six years ago, it was more of a semi-custom blend. Meaning, I was able to freely design my kitchen layout, pick my cabinets and add stone features throughout the home. Other than that, we had a set floorpan that we were working with. Our builder typically would throw in a basic bar to all the homes they built. They all looked pretty much the same. Well, I don’t like to be the same as everyone else so we opted out of that “upgrade” to our home build plan with dreams of building our “dream bar” in the future. Today, you get to see our “BEFORE the bar” photos in order to truly appreciate the after. We all love a good before and after, right?
Our basement is actually quite large, approximately 2,000 sq ft. We have a family room, recreation room, guest bedroom, two bathrooms, my office, home gym, and storage rooms all spread throughout this space. Our recreation room sat empty other than our pool table, just waiting for the new bar to come in. Before I design any new space, I take a great effort in determining how the area will be used. What are the “must haves.” We throw an annual Halloween Bash every year that has had up 100 people in this space. So we definitely needed a full service bar complete with sink, bar refrigerators, ice maker, dishwasher and microwave. Most of the entertaining when friends gather is around our bar. I also had our boys in mind and wanted to provide a fun hang out spot for them and their friends.
Let’s take a peek at what we had to work with. Keep in mind that these are poor quality photos once again since I never thought they’d end up on a blog. They’re the before photos anyways, so they have permission to be ugly.
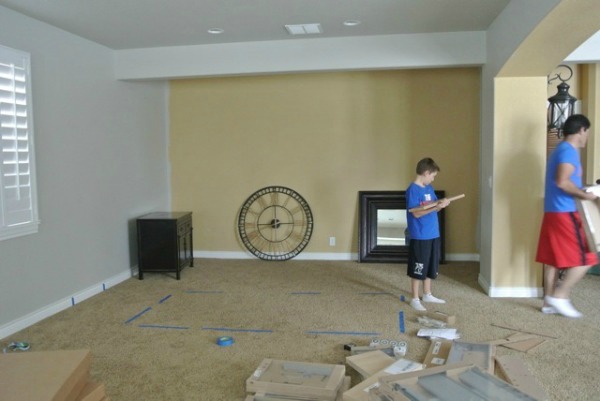
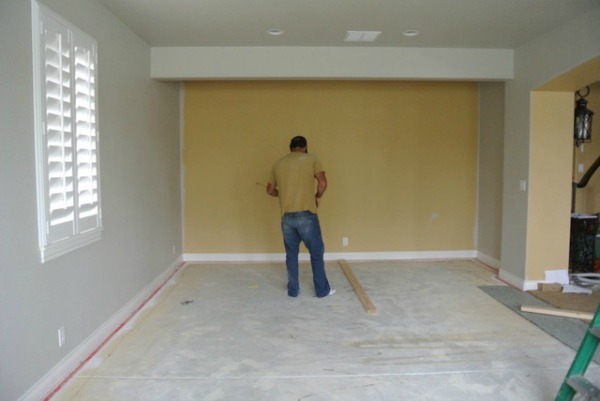
Our recreation room had the perfect wall to build our bar against. You can see the yellow paint still on the wall. My whole house was that color at one point…gasp. You can read the story on that HERE. Trust me it was really bad in person. When laying out floor plans, I often grab some painters tape and frame out exactly what I want on the floor. You can see where I outlined where the island would go.
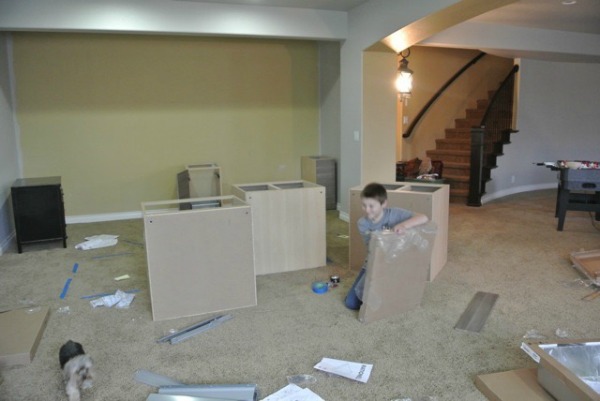
Not only is Tim completely hands on, so is our middle son, Ethan. I always tell him I’m going to hire him to be my design assistant some day. He loves to jump right in with our projects. We constructed our bar out of IKEA cabinets. We all know that IKEA has great, durable pieces, that literally come in a million pieces to assemble. That’s where Tim and I hand off those tedious tasks to Mr. Ethan. He was ten at the time and I am so proud to say that my 10-year-old son assembled every single cabinet for this bar! He worked for HOURS…
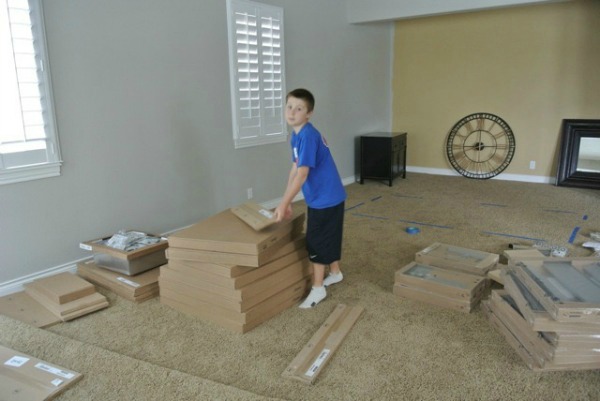
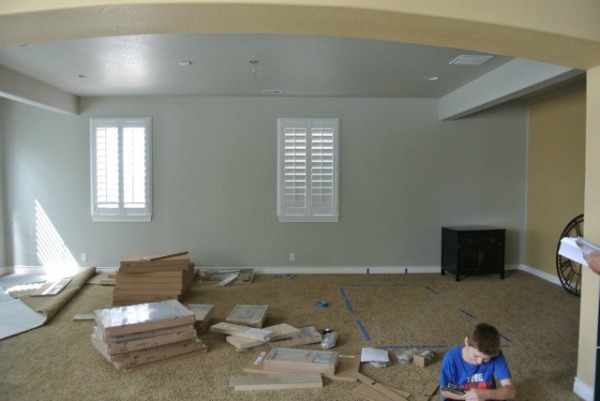
Seriously, the kid never stopped working.
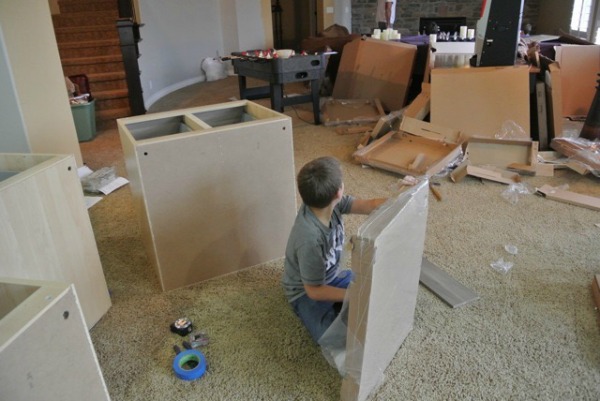
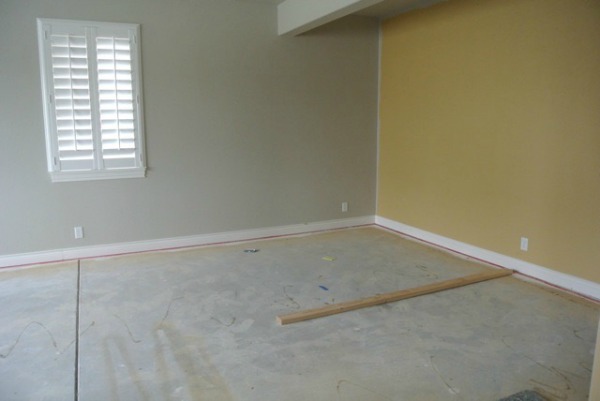
In order to have our bar island light up and have power outlets, we had to cut into our concrete floor with a demo saw to run the electrical. Tim has all the necessary tools due to his line of work and he deals with cutting concrete all the time. So he and I working together to cut that line…no problem. Well, let me just insert some precautions. You see when you cut concrete, there is rebar reinforcement within that concrete. When the demo blade hits the rebar, sparks fly! Eek!! In my house. sparks flying. We ran our garden hose into the house and I was spraying the sparks with the garden hose as Tim was sawing away…while the sparks were flying. Talk.about.a.mess! Our floor looked like a mudslide had happened. You can see we had already ripped out the carpet in this half of the basement but it was still there right at that archway. Keeping the water from flowing over there was a challenge. It was kind of comical. Me in my rubber boots, goggles, and a garden hose trying to protect my carpet (the carpet we eventually tore out anyways). We managed not to catch the house on fire and now we had a clean line to run wires to light up that bar!
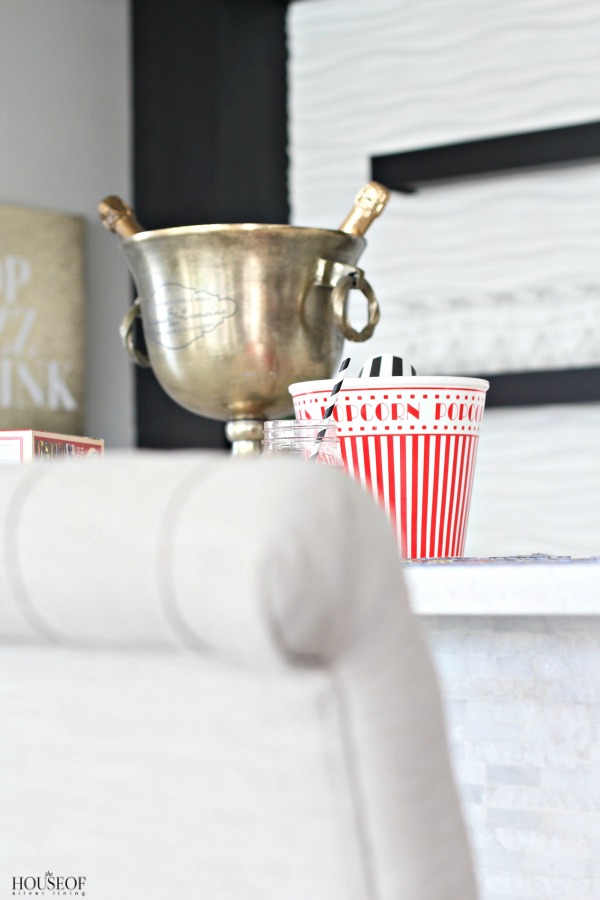
I get asked a lot where I gather my inspiration for designing a space from scratch. I literally spend hours upon hours browsing Houzz and Pinterest mainly to get original thoughts. Most of the time, I may find one element in a well-designed room and I’ll take that one piece to base the rest of the design upon. For the bar, I was feeling a club vibe, swanky, chic, yet practical. If you’ve been following my blog from day one, you may remember [this post] of my bar reveal. I won’t share all those same photos today, but if you haven’t seen it yet, go check it out! Let’s look at a few…
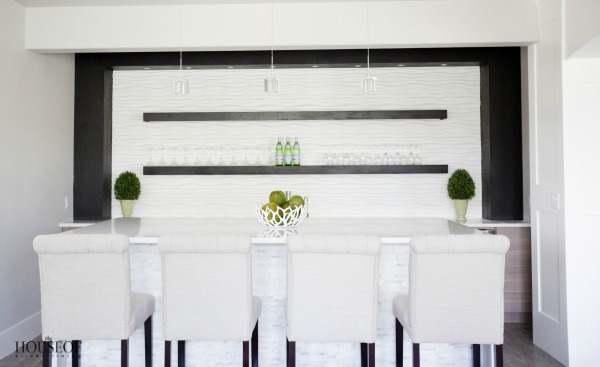
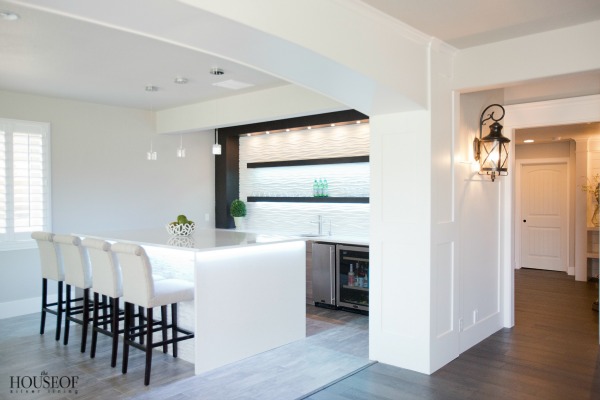
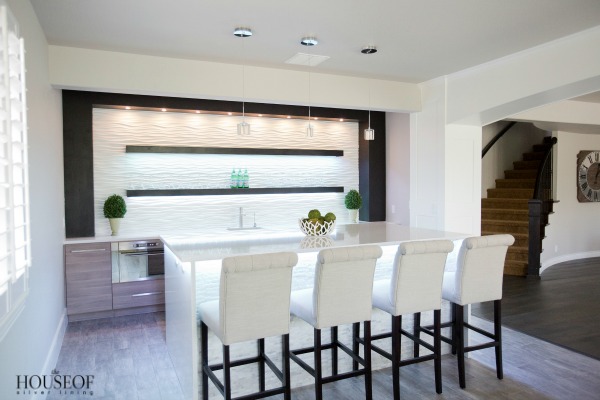
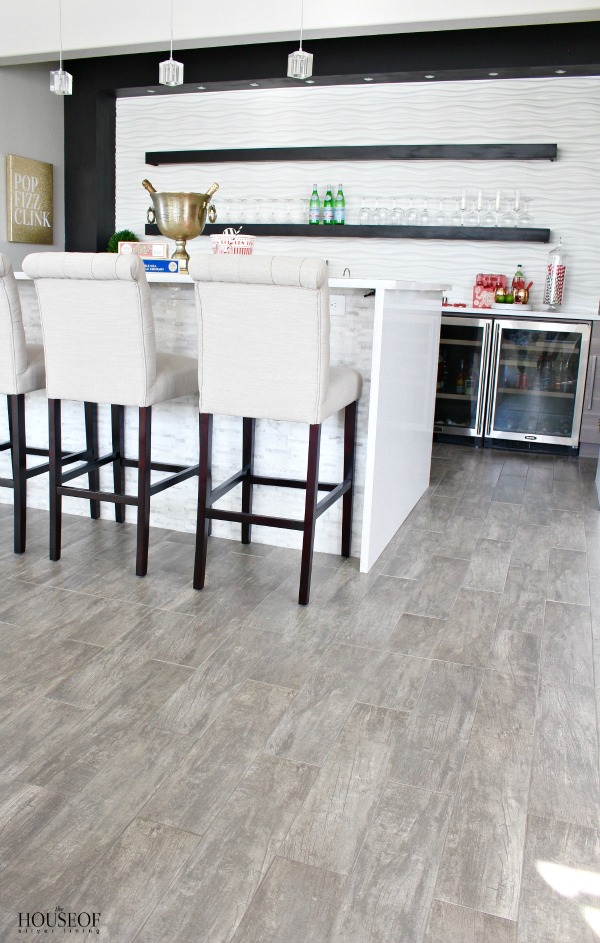
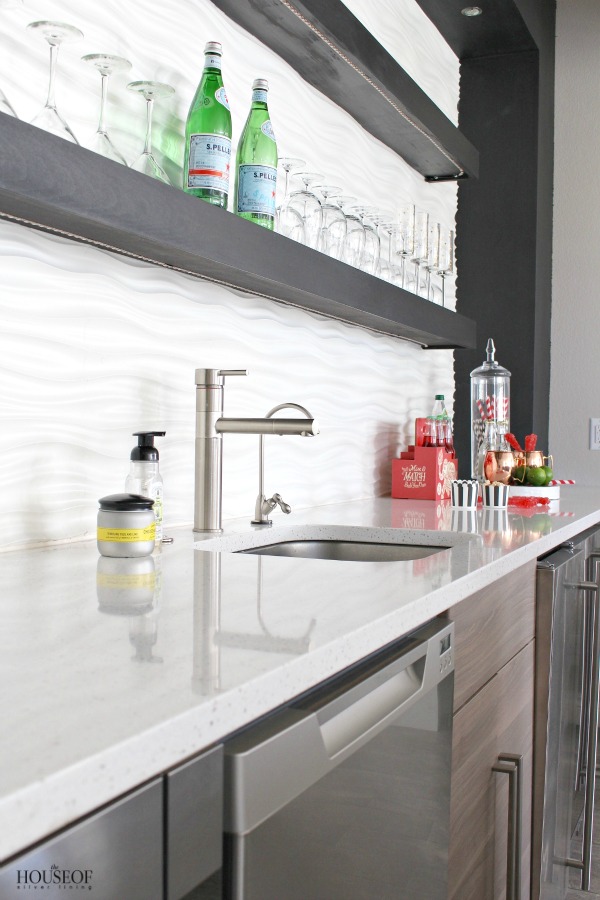
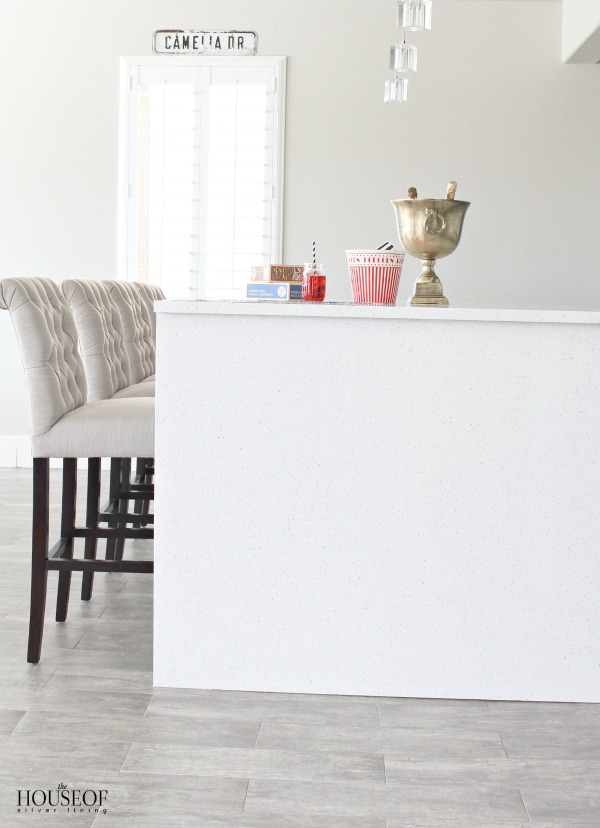
Slightly (okay, A LOT) better! I love this space so much that I literally have danced on that island. You can see that the island is all lit up thanks to my handy hubs and his demo saw.
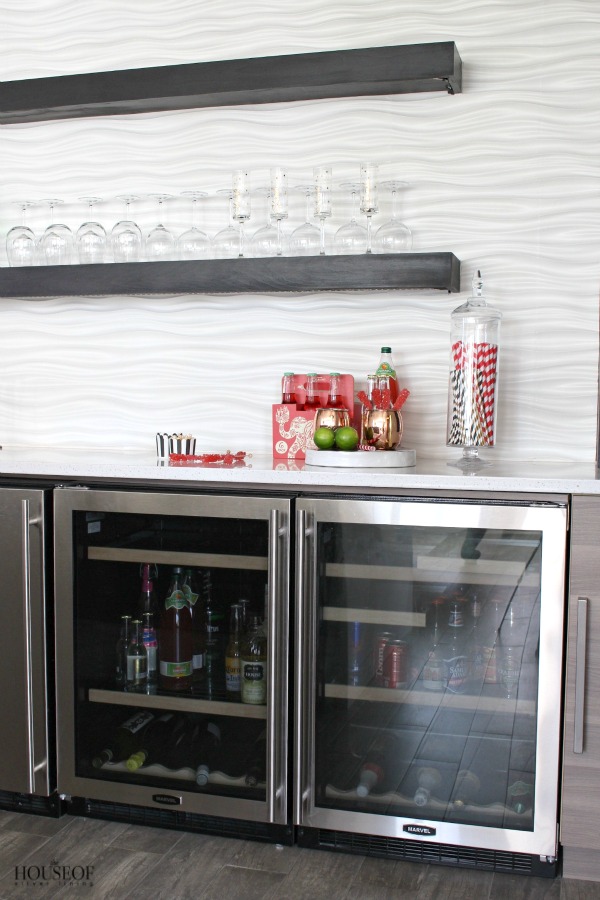
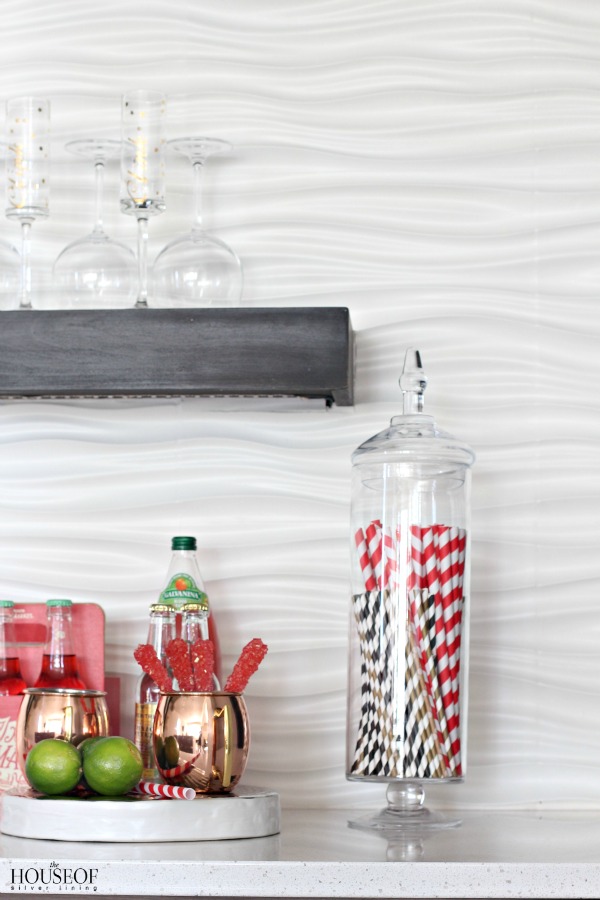
The jumpstart to this whole design was that feature wall of wavy interlocking tiles. I love the 3 dimensional effect and it is a big conversation piece. I’ve listed the direct source for this wall as well as all the other bar sources HERE.
So now that we’ve had this newly designed space for a little over two years, we have been 100% happy with it! We’ve held parties and hosted gatherings around this spot. The boys like to sit at the island and eat dinner sometimes during football games and that island has come in hand in many ways. From ping-pong to a great surface to wrap gifts on. It’s nice being able to spread out somewhere other than the kitchen island.
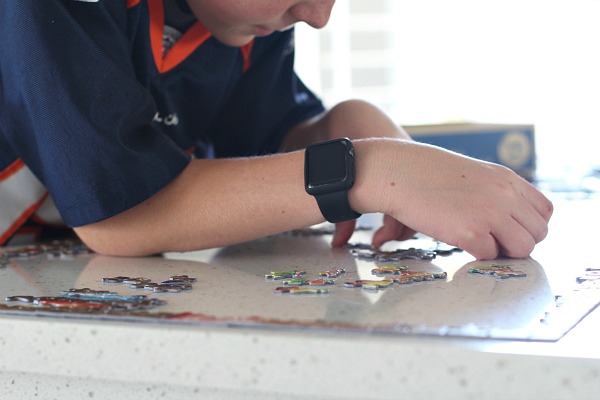
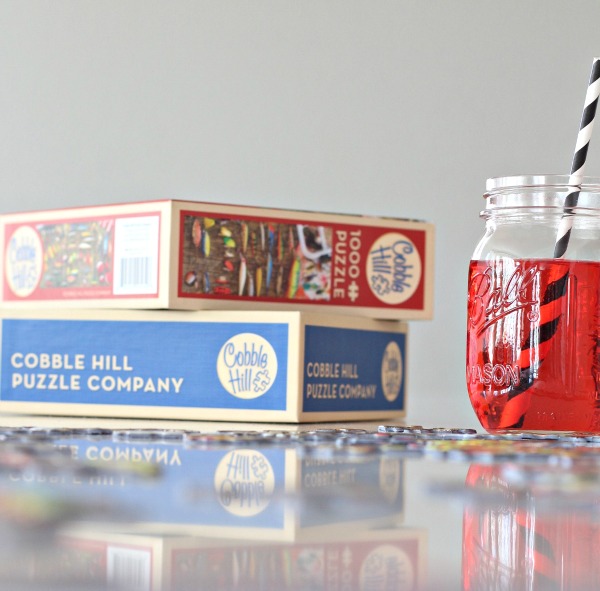
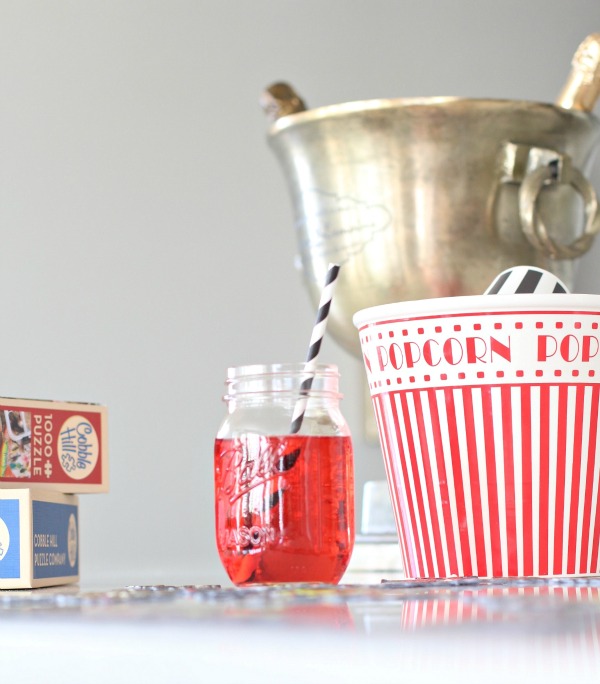
My little design partner recently started a puzzle. The nice thing about having this big bar island is that we can leave everything spread out on it for days or weeks without it getting in the way of everything else. He comes home from school and works here while I’m sitting in my office around the corner.
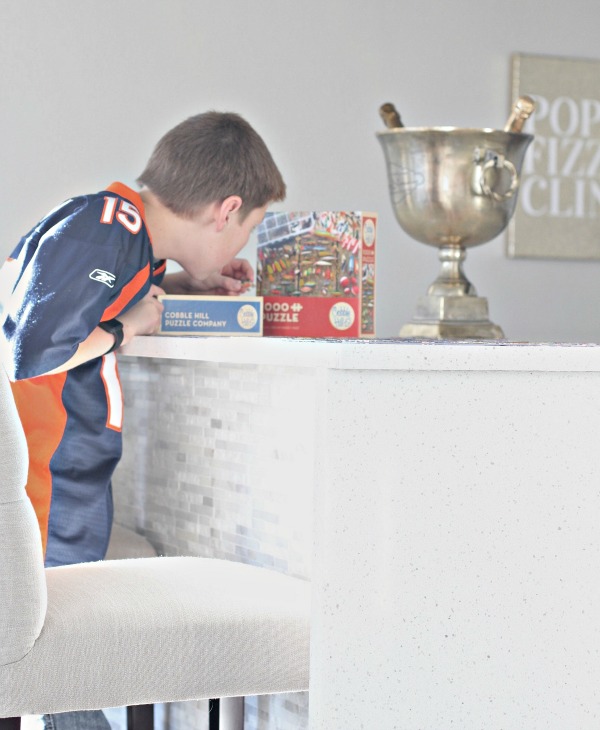
Can I just insert #yayBroncos!!! We won the Super Bowl! The boys wear their jerseys PROUD, even though Tim Tebow is no longer with them #teamtebow! I’m a bandwagon fan by default because of the boys. Actually I did watch the whole Super Bowl with one eye on the TV and the other on my laptop…working.
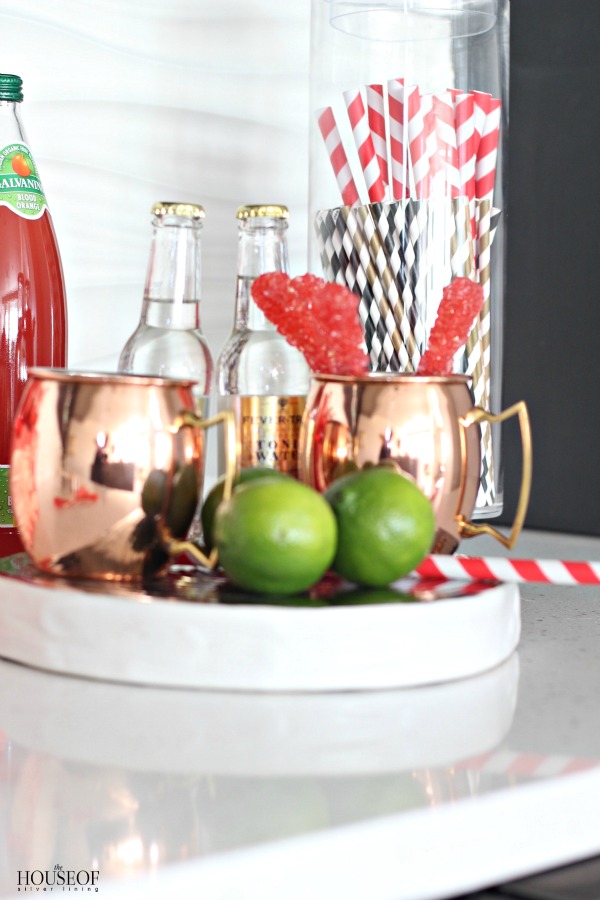
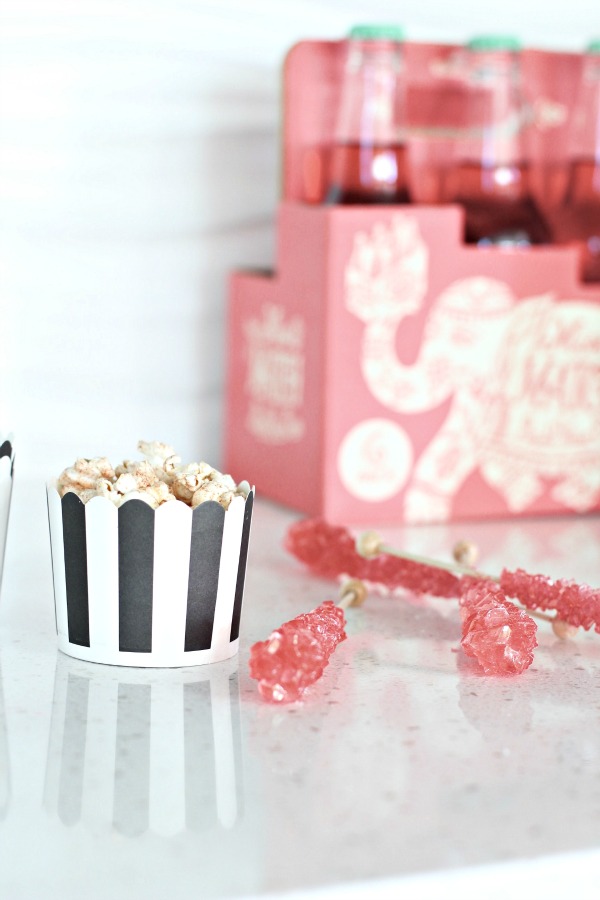
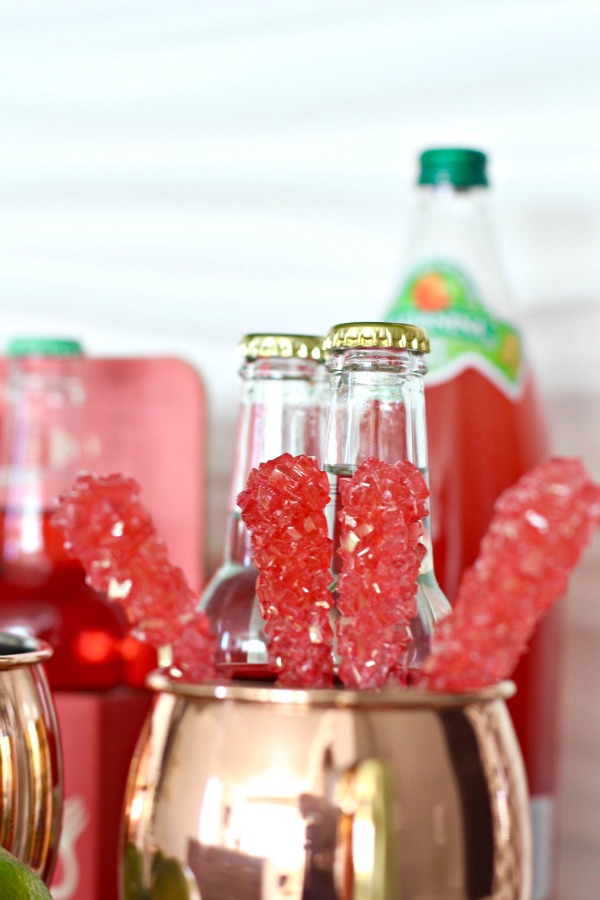
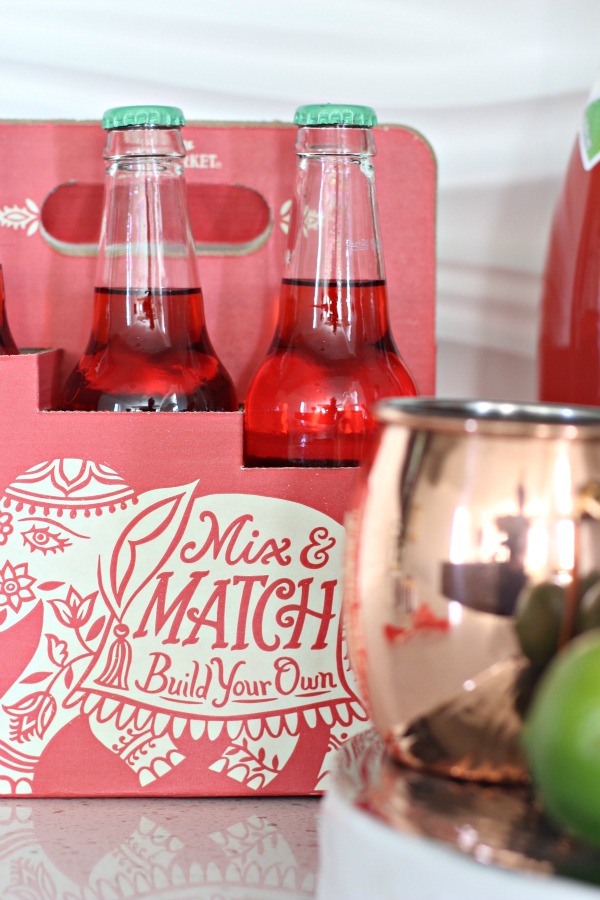
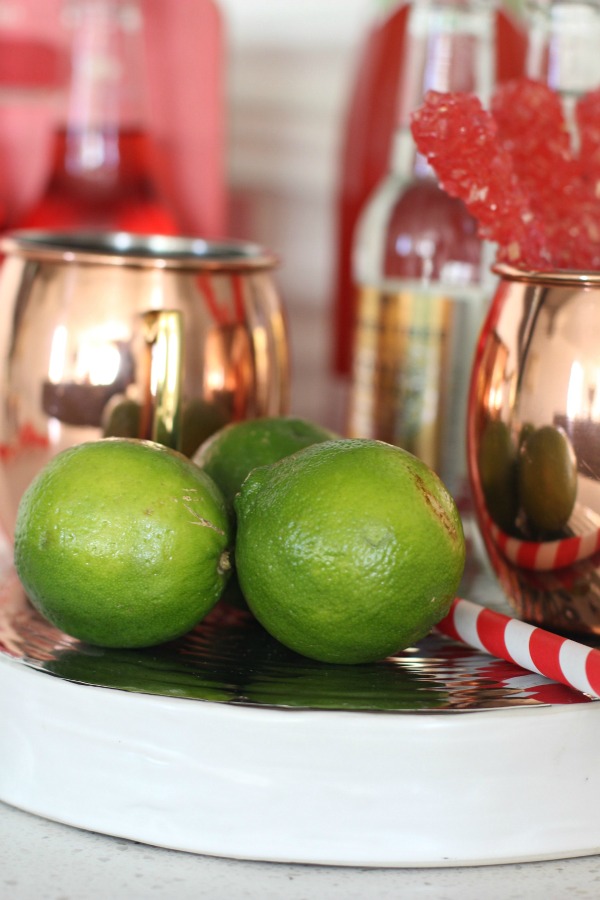
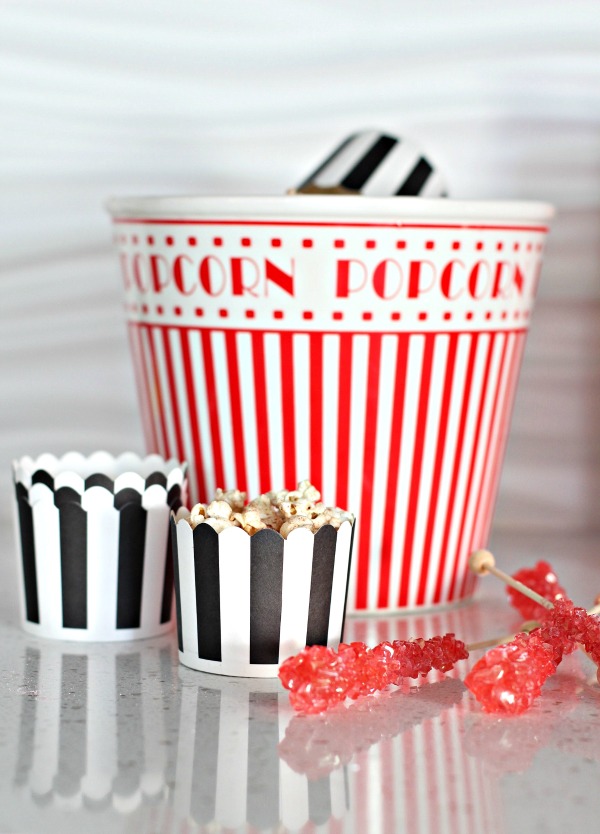
I like to keep the bar stocked with more than adult beverages. I keep yummy flavored bottled sodas (old school style) in the bar fridge and usually have a bowl of candy of some sort out for the kids.
Bar Sources (*scroll & click on images below to shop affiliate link)
You may wonder why our basement is so bright? It’s a walk out so the bar and family room feel no different from the main floor. I love the sun that pours in here all day. We’ve created a really fun hang out spot for our family and I’m so happy we waited to get what we really wanted. We could have gone with the standard builder’s cookie cutter bar, but I know that better things come to those that wait…right? I think so anyways. I wish you all could come over for a cocktail or a soda! Cheers!



Wow! I love the renovation, and the décor you’ve added to the bar is adorable!
Thank you so much Heather!
xo
I love everything about this post… it showcases your behind-the-scenes talents (plus hubs and son) and memories that you’re collecting along the way! Well done girlfriend – I’m so impressed! Love the bar and the best things come to those who wait!!!
Thank you Tana! Wish you could come hang out with me and have a drink!
xoxo
Such a beautiful bar! Will you be doing a post on your led lighting? If you don’t mind me asking. What is your columns and floating shelves constructed of? Love everything about this bar…and your blog.
Thank you Amy! For my bar lighting I used led light strips and had them hard wired. You can find them at Lowes. Maybe I should do a post about the lighting! Thx for your question!